")
The Grey Hair Struggle
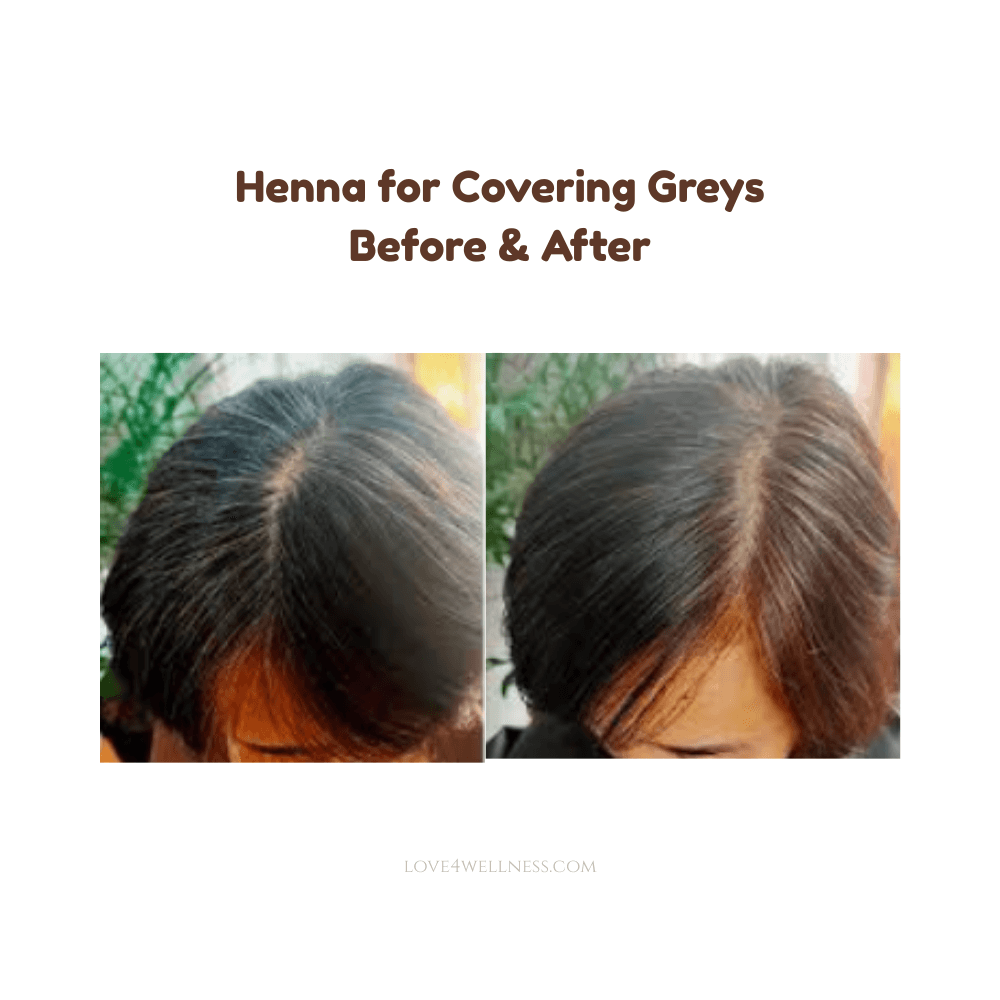
Henna is celebrated as nature’s most powerful permanent hair dye, offering vibrant colour and deep conditioning without the chemicals. But for those of us with a “sprinkling” of silver — or a full head of white — the results can be deeply frustrating. You mix the henna paste, endure the hours-long wait, rinse it all out, and then face the mirror only to find your stubborn grey hairs are still stubbornly silver, or worse, they’ve turned a translucent, ghostly orange that looks nothing like the warm chestnut on the packet.
That “ghosting” effect isn’t bad luck. It’s biology — and once you understand why henna doesn’t stick to stubborn grey hair the way it does to pigmented strands, you can take the exact steps needed to fix it.
The Science: Why Greys Are So Stubborn
Grey hair isn’t just hair that has lost its pigment; its physical structure is actually different from naturally coloured hair. Understanding these differences is the first step to achieving real coverage.
- The Cuticle Barrier: Grey hair often behaves as “resistant hair”, meaning dyes may take longer to penetrate the fibre. Age-related structural changes can make some grey strands coarser or less receptive to colour, which may reduce how evenly henna stains the hair. This is one of the reasons grey hair can be harder to colour evenly with henna.
- Lack of Melanin: Natural pigments (melanin) provide a “base” for henna to grab onto and deepen its tone against. Henna’s dye molecule (lawsone) actually binds to the keratin protein in hair, not to melanin. However, when melanin is absent—as in grey or white hair—the resulting colour appears much brighter, often showing up as vivid copper or orange rather than the deeper tones seen on pigmented hair.
- Natural Oils & Wax Build-up: Grey hair can sometimes feel wirier or more textured, and natural oils may distribute differently along the hair shaft as we age. These changes can influence how colour spreads along the strand. Heavy product buildup—such as silicones, oils, or styling residue—can create a coating on the hair that reduces how evenly the lawsone dye binds to keratin, no matter how long you leave the paste on.
5 Tips to Make Henna Stick to Stubborn Greys
If you want deep, rich coverage that doesn’t wash out, you need to rethink your entire preparation strategy — not just the henna itself.
1. Use a Clarifying Wash First
Before applying henna, wash your hair with a clarifying shampoo or rinse it with diluted apple cider vinegar. Do not follow with conditioner. This step strips away the oils, silicones, and product buildup that form a barrier on your grey strands. Think of it as sanding a wall before painting — skipping this step means your colour has nothing clean to grip onto.
2. Harness the Power of Acidity
Henna releases its dye molecule more efficiently in slightly acidic conditions, which is why many traditional mixes include ingredients like lemon juice, tea, or apple cider vinegar. Mix your paste with lemon juice, grapefruit juice, or apple cider vinegar instead of plain water. This acidity does double duty: it encourages the lawsone dye to release from the plant matter and may support more consistent colour development on resistant hair.
3. Give it Time: Dye Release Matters
Do not apply henna immediately after mixing. Let the paste rest at room temperature for 8–12 hours until the surface turns a rich, dark brown — that colour change tells you the Lawsone molecule is fully active and ready to stain. Using fresh, unmixed paste on resistant grey hair is one of the most common reasons coverage disappoints.
4. Heat is Your Best Friend
Once the paste is applied, wrap your hair in plastic cling film and put on a warm beanie. Gentle, sustained heat helps keep the henna paste moist and encourages the dye to migrate more effectively into the hair shaft rather than sitting only on the surface. This step alone can be the difference between a faint tint and genuine coverage.
5. Add Grip with Salt
Some experienced henna users add a small pinch of salt to the mix, although this is largely based on anecdotal practice rather than strong scientific evidence. It is a small tweak, but one many experienced henna users swear by, especially on very smooth, resistant silver strands.
Also Read: Six Useful Remedies To Try To Stop Premature Greying of Hair
IV. The Secret Weapon: The Two-Step Process
If you have very stubborn greys and are aiming for a dark brown or black result, the one-step method — mixing henna and indigo together at the start — almost always fails on resistant hair. When henna and indigo are mixed together and applied in one step, coverage on stubborn grey hair can sometimes be weaker. Applying them sequentially allows each dye to bind more effectively.
- Step One — The Primer: Apply pure henna first, using all the tips above (acidic mix, dye release, heat). This turns your greys a bright copper-orange. Do not be alarmed — this is the primer layer, not the final result. The henna has now permanently bonded to the hair, creating a foundation that indigo can grip.
- Step Two — The Colour: Without shampooing (just a plain water rinse), apply a fresh indigo paste immediately. The indigo binds to the henna already locked inside the hair, transforming the copper-orange into a deep, rich brown or jet black — a colour that does not fade but deepens over time.
The key insight is that henna and indigo are applied sequentially, not simultaneously. Each has a chance to fully bond at its own stage, which is why the resulting colour is so much more stable and true than any one-step attempt.
Note: Indigo should be applied to henna-treated hair within 48 hours of henna application.
V. Aftercare: Patience is Part of the Process
Getting the paste on is only half the job. What you do in the 48–72 hours after rinsing determines whether your colour deepens beautifully or fades into a patchy shadow of itself.
- Avoid Shampoo for 48 Hours: Henna takes 2–3 days to fully oxidise and settle into its final colour. Shampooing immediately after application may slightly reduce colour intensity, as henna continues to oxidise and deepen for up to 48–72 hours. The dye is still bonding during this window — water-rinsing only is fine, but keep detergents away from your hair entirely.
- Skip the Silicones: Once you do resume washing, reach for a silicone-free conditioner. Silicones coat the hair shaft in a thin layer that locks moisture in. Over time, heavy silicone buildup can reduce how evenly future henna applications adhere to the hair.
- Expect the Colour to Evolve: Don’t judge your result on day one. Henna and indigo continue to oxidise for up to 72 hours, meaning that the colour you see immediately after rinsing is not the final result. Most people find the colour deepens and becomes more natural-looking over the first three days.
- Oil Treatments Are Your Friend: After the 48-hour no-shampoo window has passed, a weekly coconut or argan oil treatment will keep grey hair — which can tend to dry out — soft and hydrated without compromising your colour.
You Might Also Like:
- The Natural Way to Cover Grays: A Comprehensive Guide to Henna and Indigo
- Embracing or Erasing? Your Guide to Safely Covering Gray Hair
VI. Conclusion: Don’t Give Up on Natural Colour
Stubborn greys are a challenge — but they are far from impossible to cover naturally. The reason henna doesn’t stick to grey hair isn’t a flaw in the plant or the process; it’s a structural difference in the hair itself that simply requires a more deliberate approach.
Clarify before you start. Use acidity. Give the paste time to release. Apply heat. And if you want dark, rich coverage, commit to the two-step process — it is the single most effective change you can make.
Chemical dyes work by forcing their way into the hair. Henna works by being invited in. For grey hair, that invitation needs a little more preparation — but the result is a natural, conditioning colour that no chemical box can replicate.